


Jasmine Birtles
Your money-making expert. Financial journalist, TV and radio personality.

![]() Lucy Miller
19th May 2020
Lucy Miller
19th May 2020
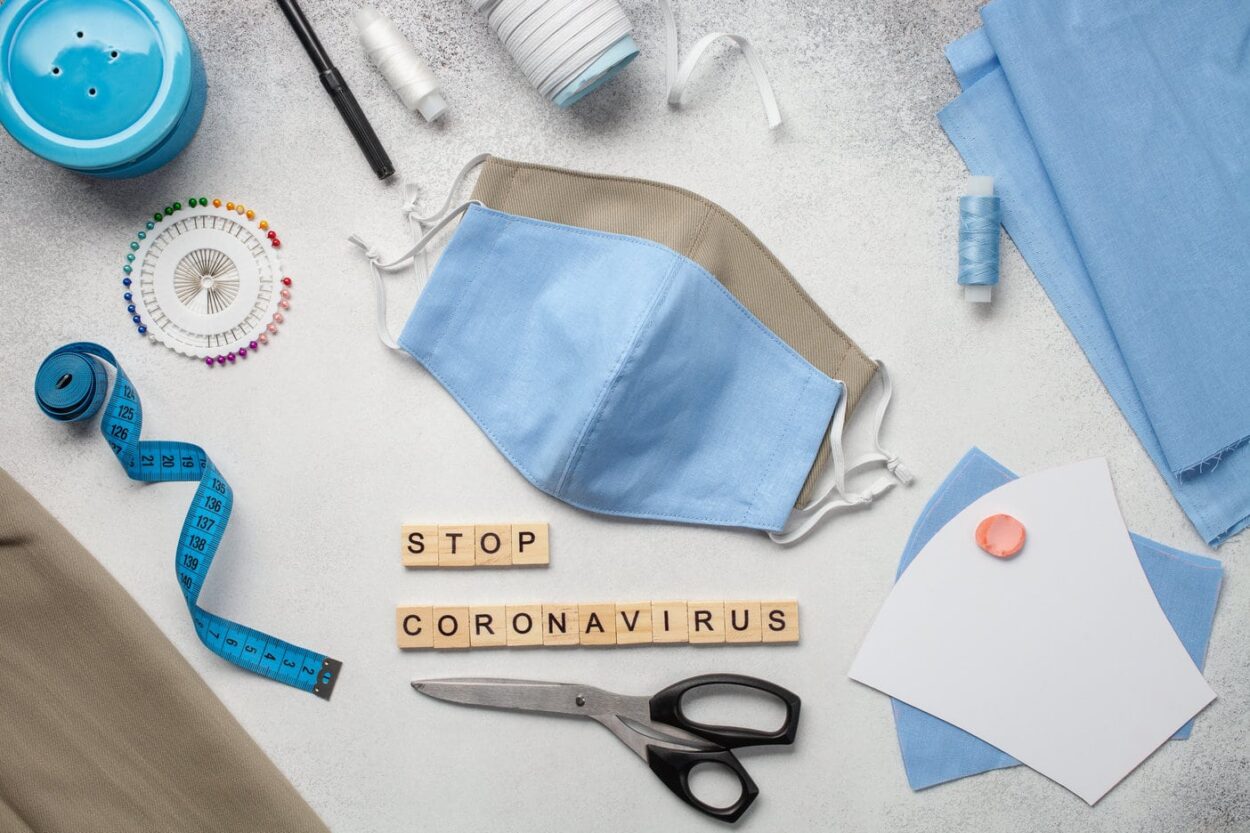
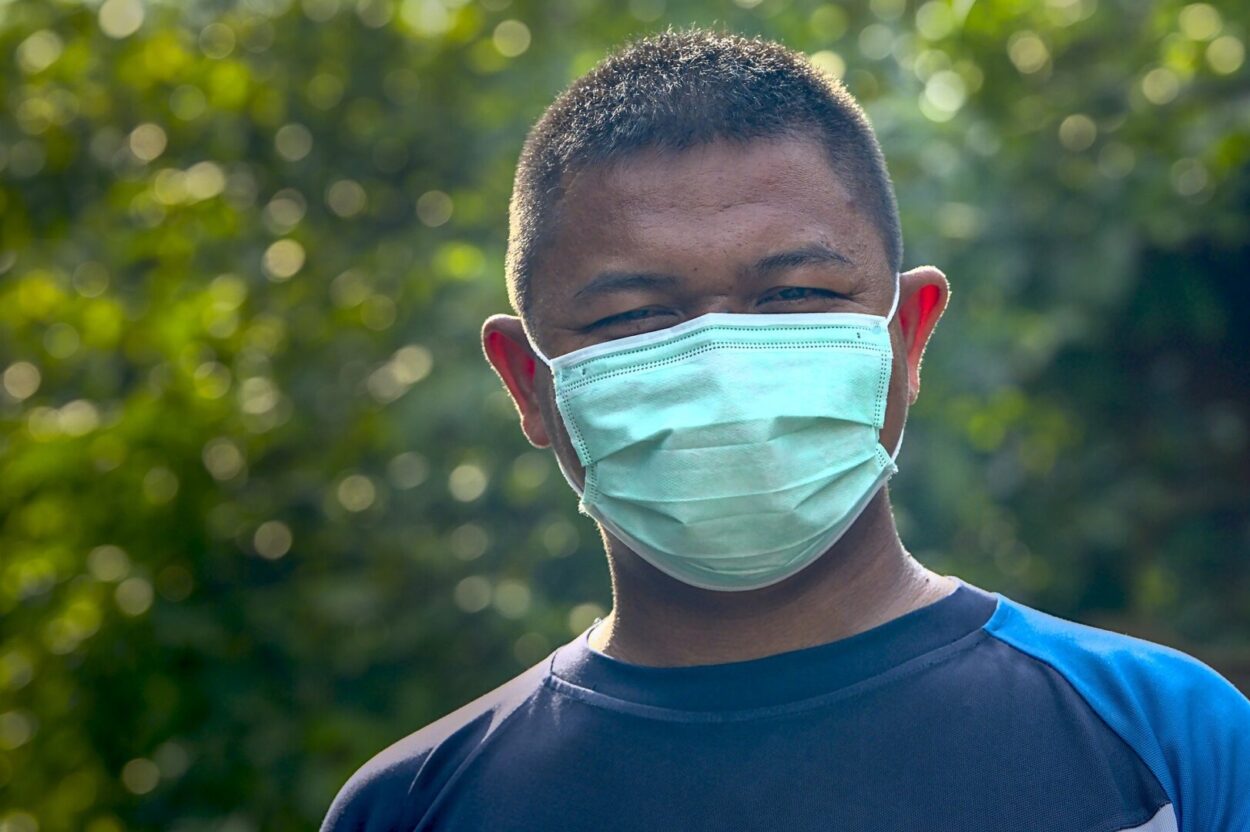
As coronavirus lockdown restrictions ease and we’re finally able to spend some (socially distant) time with friends and family, many of us will be trying to get our hands on face masks to protect those around us from potentially picking up the virus.
But with face masks selling out online, this might be easier said than done. So, what can we do to ensure we’re taking all the precautions we can to protect those around us?
An answer to this is to make your own face masks. Don’t panic if you’re not a dab-hand with a needle and thread or don’t have access to a sewing machine, though! Making your own face mask can in fact be really easy. Here, we’ll guide you through the process.
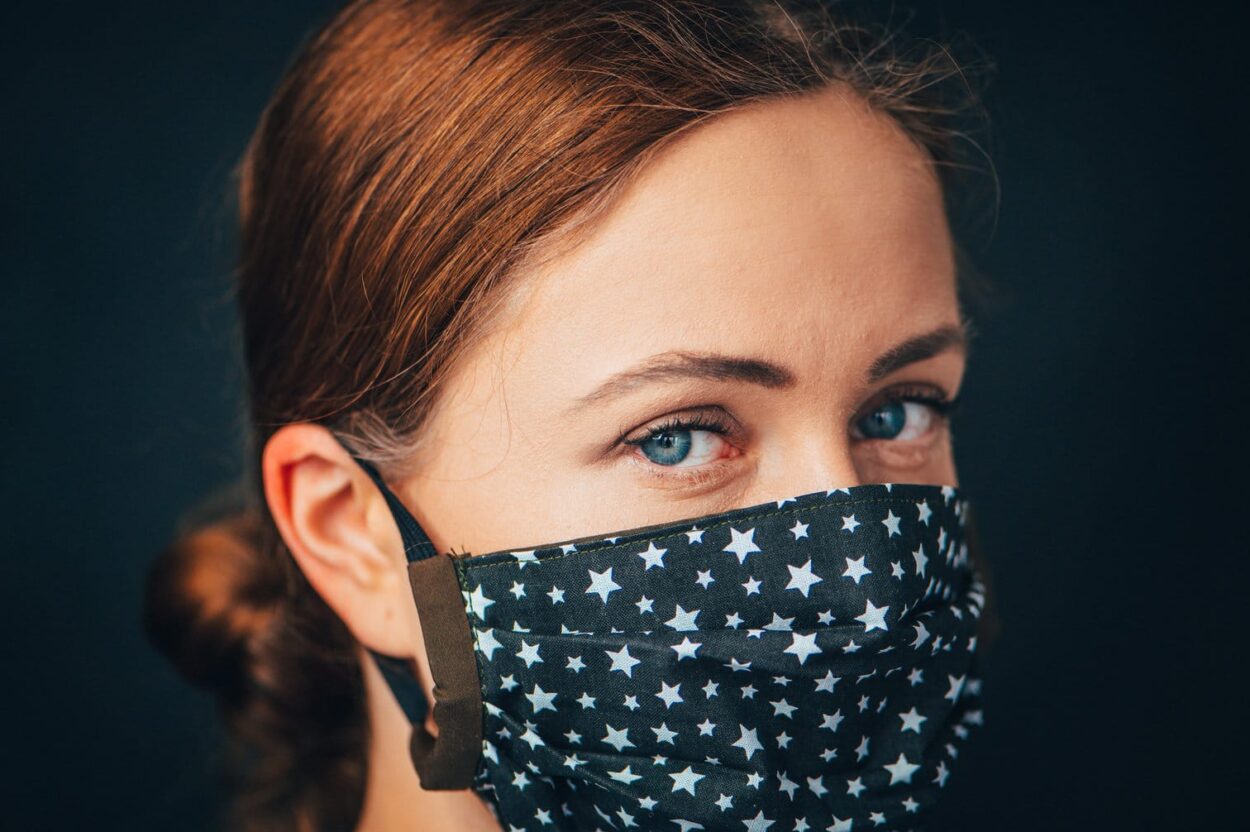
There are no hard and fast rules when it comes to the material that you should use for your face masks. Lots of people are using bandanna material, as this is often soft and designed to cover the face anyway. Other people are being inventive, and even using old bras to create their masks! They are exactly the right shape, after all.
(If you haven’t got much time and you need a mask immediately, this tutorial shows you how to make a face mask using just a bandanna and some rubber bands. If you want something a bit more substantial, though, we recommend digging out some cotton or similar fabric and following the steps below).
It’s important that your face masks are the right size, and that you make different sized versions if you’ve got teenagers or smaller children that you’re making masks for too. This tutorial on YouTube gives a handy guide to measuring the amount of material you need, using a dinner plate. The general advice on the diameter of your circle of cloth is:
Of course, you will also need to use your own judgement in this.
Next, cut your material to length and then fold it in half so that it creates a semi-circle shape.
Now for a few straightforward steps to start putting your mask together:
Next, it’s time to start sewing.
Now you need to prepare your face mask so that you can wear it effectively.
You’ll now need to attach the elastic, which will keep the face mask in place whilst you’re wearing it.
Voila! You should now have a face mask that you can use out in public, ensuring that you don’t need to risk putting anyone you come into contact with at risk. Remember to use your mask whenever you go out for the foreseeable future, and make sure it covers your mouth and nose as this is where the virus can be transmitted from. You should wash your mask regularly too. See more advice on how to wear your face mask here.
There are loads of fun face mask tutorials out there that’ll inspire you with more design ideas!
From the no-sew one-minute handkerchief mask to diaper masks, there’s lot of different ideas out there for all sorts of skill level. You could try a free crochet mask pattern to test your yarn skills, or even adapt a bra!
Some people are opting for funky fabrics to brighten their day, while others try a chic look with a designer logo. Whatever design you choose, remember to make sure it’s fitted well around your nose, chin, and around your cheeks.
Have you got any good tips for creating your own face masks during the coronavirus lockdown? If so, we’d love to hear about them. Head over to our forums to share your advice!
Your money-making expert. Financial journalist, TV and radio personality.

I think I would make my own facemask than buying!
great information, thanks so much. for anyone who is able to do it themselves this is a great way.
iv bought some on amazon which are patterned like butterflies peacocks monkeys ect. thought it would be less scary looking for everyone esp kids, and can make you smile seeing the different ones.
plus this leaves the surgical ones for the frontliners. who I hope are provided with plenty each day, but if you are able to do this a suggestion is to make some extras and send them to frontliners to help them out 🙂
A useful article.
Managed to grab a few masks online early on during the lock down, but a great article for those in need.